STL Wall Thickness Checker (Thin-Wall Heat Map)
Find walls that are too thin to print and see them highlighted in red on the model · free, no signup
See STL Wall Thickness Checker (Thin-Wall Heat Map) in action
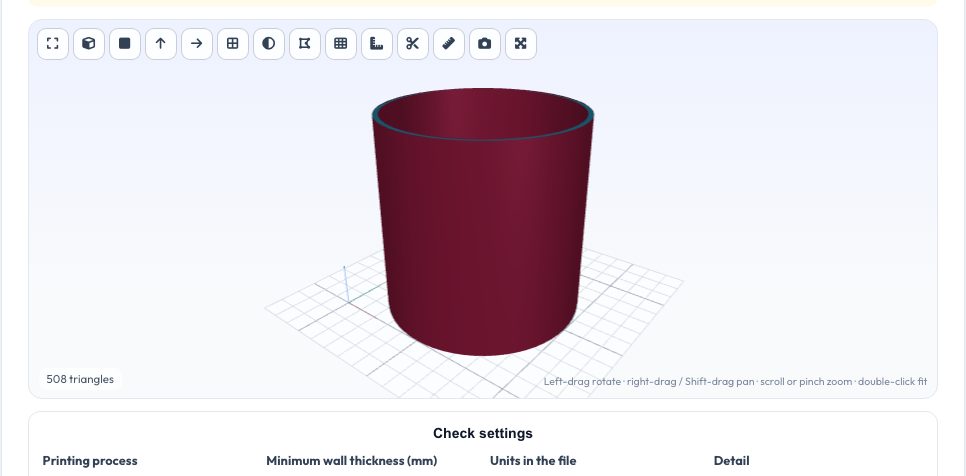
Free STL Wall Thickness Checker for 3D Printing
Thin walls are one of the top reasons prints fail: they vanish in the slicer, break on removal, or print as a single weak line. This checker casts a ray from every surface triangle into the material and measures the distance to the opposite wall, then colours the model: red where the wall is thinner than your limit, orange up to twice the limit and green where it is comfortably thick.
Choose a preset for your process — FDM 0.4 mm nozzle (0.8 mm), 0.6 mm nozzle, resin, SLS, metal or a strong-part setting — or type any minimum. The tool reports the thinnest wall, typical thickness, the percentage of surface below your limit and how long it took, using a bounding-volume hierarchy so even large meshes finish in seconds.
Key features
Colour heat map
Red, orange and green on the model so you see exactly where to thicken.
Process presets
FDM, resin, SLS and metal minimums built in.
Fast ray casting
BVH acceleration with adjustable detail.
Clear statistics
Thinnest, median and percentage of thin surface.
How to use it
- Drop in your model and set the file units.
- Choose your printing process or a custom minimum.
- Press Check wall thickness.
- Thicken the red regions in your CAD program and re-check.
Worked example
Example
A 16 mm bore through a 20 mm diameter tube leaves a 2 mm wall. Checked against an FDM minimum of 0.8 mm the whole surface is green; against a 2.5 mm strong-part minimum the walls turn red.
Who uses this tool
FDM printers
Avoid walls the slicer would drop.
Resin printers
Prevent fragile fins and cracks.
Product designers
Check manufacturability early.
Service bureaus
Quick pre-flight check.
Tips for the best results
- The minimum wall is usually 2 × nozzle width for FDM.
- Run the repair tool first so normals point outward.
- Use Thorough detail for small parts.
- Red at sharp corners is common and often harmless — look at the whole area.
Common mistakes to avoid
- Trusting the result on an open or inverted mesh.
- Using the wrong units.
- Treating ray-based thickness as a certified measurement.
Why use AZRS QuickFix?
It is 100% free, needs no signup and has no watermark or usage limits. The tool runs in your browser, so what you type stays on your device, and it works on phones, tablets and desktops. New tools are added every week — bookmark this page or browse the full QuickFix toolbox.
Frequently asked questions
Does it replace slicer previews?
It complements them: you see thin areas before slicing.
Why are corners red?
Rays at sharp edges can run along a wall.
How big a file can I check?
A few hundred thousand triangles run comfortably; larger files are sampled.
Are results saved anywhere?
No, nothing leaves your browser.