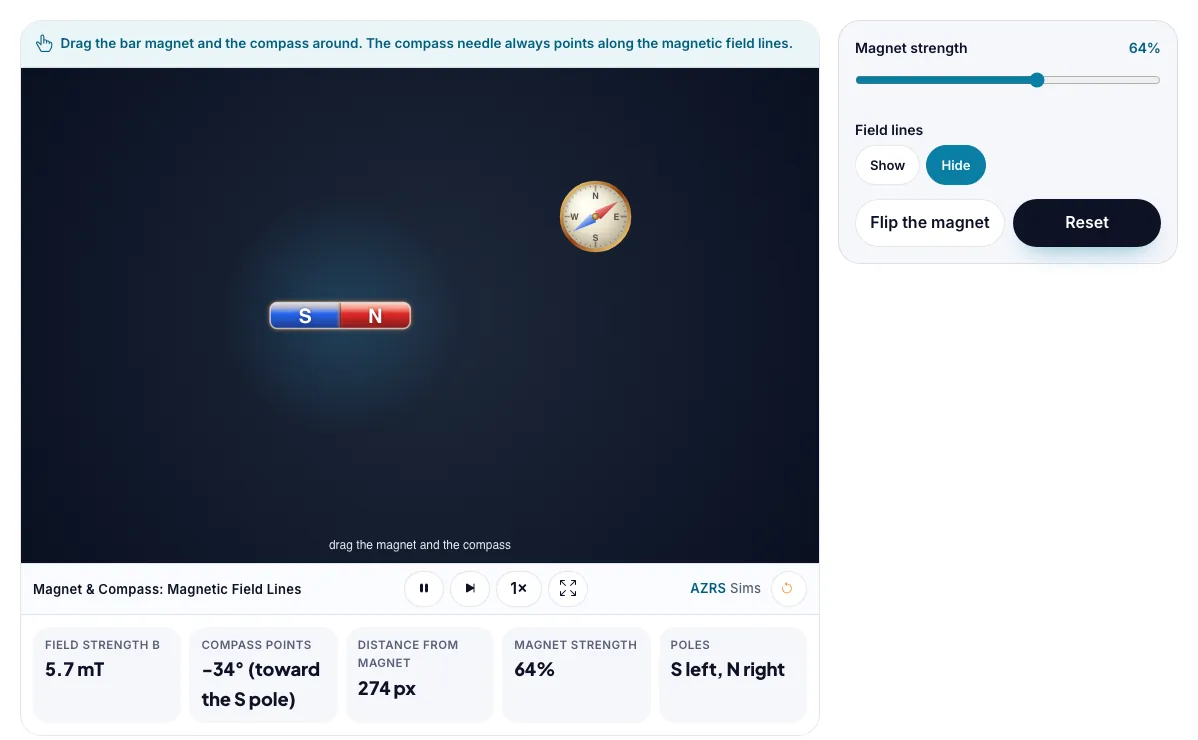
Magnet & Compass: Magnetic Field Lines
Drag a bar magnet and a compass to see the magnetic field direction, strength and field lines.
Drag the bar magnet and the compass around. The compass needle always points along the magnetic field lines.
What the Magnet & Compass: Magnetic Field Lines shows
Drag a bar magnet and a compass to see the magnetic field direction, strength and field lines. Free, no signup, runs in your browser. Built for physics, the magnet & compass: magnetic field lines runs instantly in your browser: change a setting or drag an object and the result updates at once, so you learn by trying things out rather than only reading about them.
A compass placed near a bar magnet, with field lines you can show or hide. The needle turns to point along the local magnetic field.
How to use the Magnet & Compass: Magnetic Field Lines
In the Magnet & Compass: Magnetic Field Lines, use the controls to change Magnet strength, Field lines. The simulation reacts instantly.
In the Magnet & Compass: Magnetic Field Lines, pick an option such as Show, Hide to switch modes or load an example.
In the Magnet & Compass: Magnetic Field Lines, press "Flip the magnet", "Reset" to start, reset or change what is happening.
Start with this experiment: Drag the compass all the way around the magnet. Drag any glowing handle, object or slider with your mouse or finger and the Magnet & Compass: Magnetic Field Lines responds in real time.
Change one setting at a time and watch which readout moves, then compare it with this idea: Field lines leave the north pole and enter the south pole.
Things to try
Drag the compass all the way around the magnet.
Flip the magnet and watch the needle turn.
Reduce the strength.
The science behind it
Field lines leave the north pole and enter the south pole.
A compass needle lines up with the field.
The field is strongest close to the poles.
Flipping the magnet reverses the field.
A worked example with real numbers
B_net = √(100² + 20²) = √10 400 = 102 µT
Angle from east toward north = arctan(20 / 100) = 11.3°
So near the magnet the needle is almost east-pointing, only 11° from the magnet's direction.
Tips and common mistakes
Tips
- Drag the compass round the magnet and note that the needle always swings tangent to the field line.
- Weaken the magnet and watch Earth's field start to win far from it.
- Flip the magnet to see the north end of the needle reverse.
Common mistakes
- The needle's red end is a north-seeking pole, so it points toward the magnet's south pole.
- A compass shows direction only; it does not give the field strength directly.
- Nearby iron or other magnets will bend the field and the reading.
Where this is used
Navigation, MRI scanners, electric motors and hard drives all depend on magnetic fields.
Who is this simulation for?
Physics students in middle school, high school and first-year university, teachers who want a quick demonstration for the projector, and anyone revising for exams. A good first experiment in the Magnet & Compass: Magnetic Field Lines: Drag the compass all the way around the magnet. The key relation to keep an eye on: The needle lines up with the net field: B_net = B_magnet + B_Earth (vector sum).
For teachers: project the Magnet & Compass: Magnetic Field Lines on the board, let students predict the result, then run it together and test this: Flip the magnet and watch the needle turn. For students: change one thing at a time and write down what changes.
Frequently asked questions
What do magnetic field lines show?
The direction a compass points and, by how close together they are, how strong the field is.
Why does a compass point north?
The Earth acts like a giant magnet, and the compass needle lines up with its field.
Is the Magnet & Compass: Magnetic Field Lines free to use?
Yes. The Magnet & Compass: Magnetic Field Lines is free, needs no signup or download and runs in your web browser. It is part of the Physics group of AZRS simulations.
Does the Magnet & Compass: Magnetic Field Lines work on a phone or tablet?
Yes. The Magnet & Compass: Magnetic Field Lines takes touch input as well as mouse input, so you can use its 2 adjustable settings with a finger. A larger screen makes the controls and graphs easier to read.