
Meet the Onshape to Slicer 3D Printing Workflow Guide
A step-by-step Onshape-to-slicer guide: design-for-print rules, the right STL export settings, free file checks, importing into OrcaSlicer, Bambu Studio.
- Free to use
- No signup
- Nothing to install
- Runs in your browser
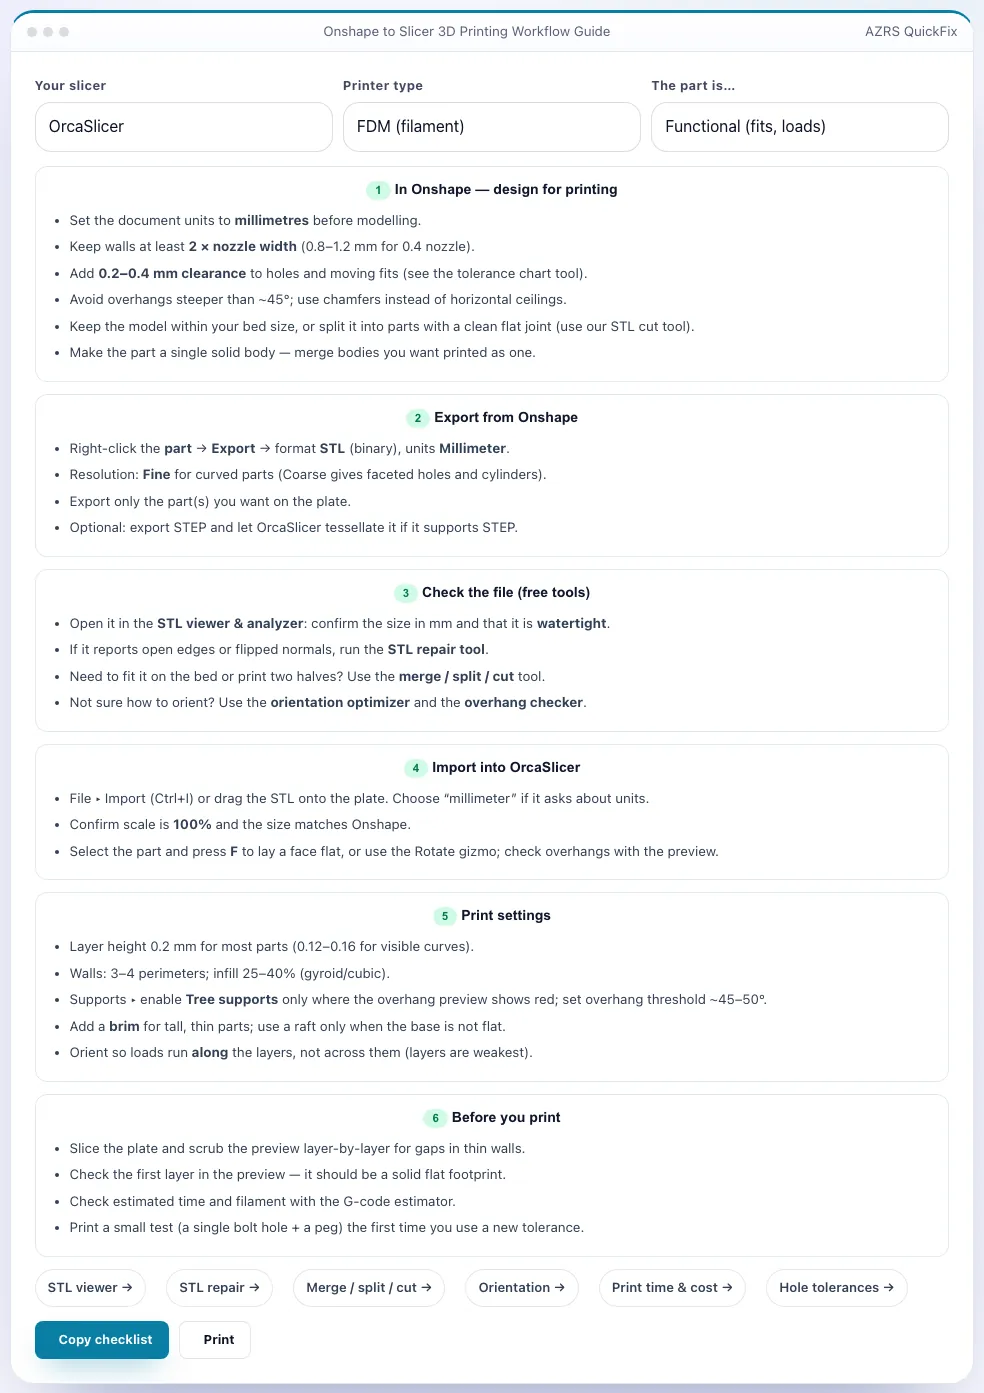
For a functional FDM part in PrusaSlicer, the guide recommends millimetres, Fine STL resolution, +0.2–0.4 mm hole clearance, 3–4 perimeters, 25–40% gyroid infill and orienting the part so loads run along the layers.Open the Onshape to Slicer 3D Printing Workflow Guide
Illustration. Open the tool for the real thing.
See it in action
Shown running with its default sample values
What is the Onshape to Slicer 3D Printing Workflow Guide?
Going from an Onshape design to a good print has a handful of steps where things commonly go wrong: wrong units, faceted curves from a coarse export, a model that does not fit the bed, a part printed in the weakest orientation. Choose your slicer (Orca, Bambu Studio, PrusaSlicer, Cura), your printer type and whether the part is functional, visual or a prototype, and the guide produces a personalised checklist covering the design rules in Onshape (millimetres, wall thickness, clearances, overhangs, bed size), the STL export settings (binary, millimetres, fine resolution), checks with free tools, how to import and orient in your slicer, and the print settings that suit your part.
Resin printing gets its own advice (layer height, exposure, orientation, drain holes). Copy the checklist as plain text or print it, and jump to the related tools for viewing, repairing, cutting, orienting and estimating the print.
3 steps to your result
Open the tool and follow along. Nothing to install.
What you get
Matches your slicer, printer type and part purpose.
STL binary, millimetres, fine resolution and what to select.
Slicer-specific instructions for Orca, Bambu, Prusa and Cura.
FDM and resin guidance with layer lines and strength notes.
AZRS tools are free to open and use.
It opens in your browser, so there is nothing to download.
Used for
Pick one to see how it fits.
How it compares
A plain look at this tool next to the usual alternative.
| This 3d tool | Desktop software | |
|---|---|---|
| Install | Nothing to install | Usually an app or program to install |
| Account | No signup | Depends on the product |
| Cost | Free to use | Free or paid, depends on the product |
| Where it runs | In your browser tab | On your computer |
Questions people ask
What STL export settings should I use?
Binary, millimetres and Fine resolution for curved parts.
Does it replace my slicer's documentation?
No — it is a workflow checklist; slicer menus change between versions.
Can I use STEP instead?
Bambu Studio and some slicers import STEP directly; STL is the universal choice.
Is it free?
Yes.
How do I use the Onshape to Slicer 3D Printing Workflow Guide?
1. Choose slicer, printer type and part purpose. 2. Follow the numbered checklist. 3. Use the linked tools to check, repair or cut the model. 4. Copy or print the checklist for reference.
More free tools
Related to the Onshape to Slicer 3D Printing Workflow Guide.
Try the Onshape to Slicer 3D Printing Workflow Guide now
Step-by-step Onshape → STL → slicer checklist for Orca, Bambu, Prusa and Cura. Free to use.
Try it free